
How to Take Body Progress Photos You Can Actually Compare
Camera distance, lighting, and posture can change a silhouette. Use a setup you can repeat so two photographs tell you something about the same view.
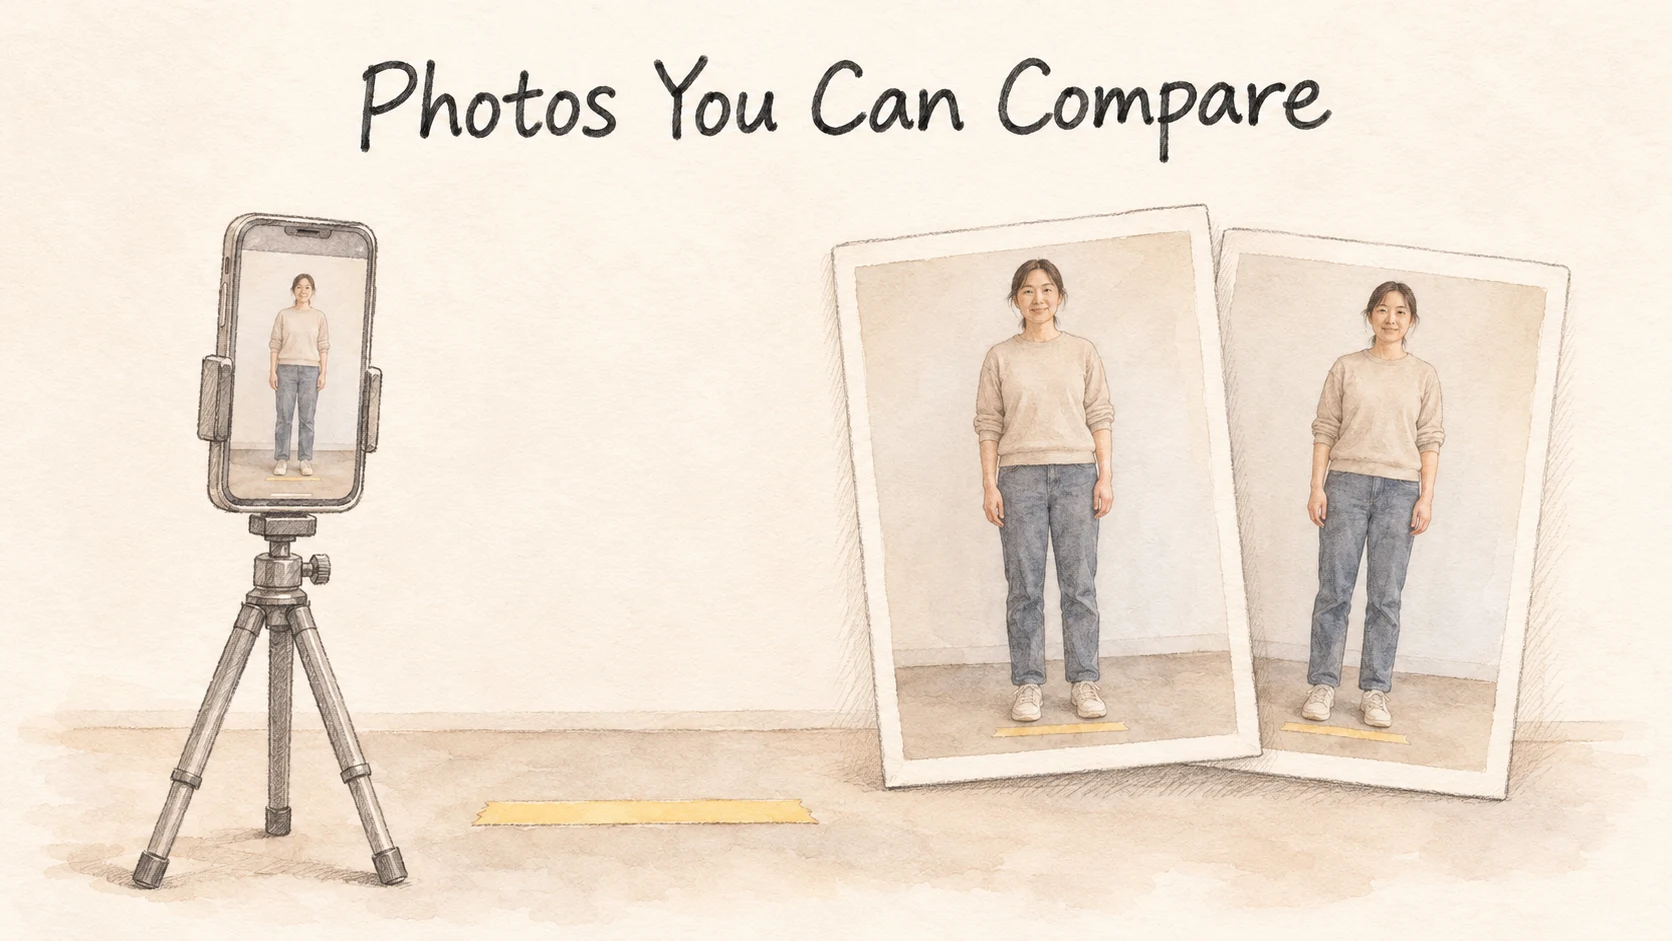
One photo was a bathroom mirror selfie. For the other, a friend stood across the hallway. Put them side by side and your shoulders or waist may look different. For photos you can compare over time, keep the distance, camera height, light, and posture similar. Then it's easier to see changes in the outline you wanted to follow.
A photograph records an appearance from one place at one moment. A slimmer-looking side view may come from a change in posture or camera position. Photos can't put a number on body fat or tell you how healthy you are. If you want to know more about waist size or strength, keep the pictures and track those other measurements separately.
A closer camera makes nearby features look bigger
Hold a hand in front of your phone and point one finger toward the lens. The fingertip takes up more room in the picture than the fingers farther away, even though your hand is the same size. If you move the phone back, that gap between fingers becomes a smaller proportion of the distance to the camera. The image looks closer to how you usually see your hand.
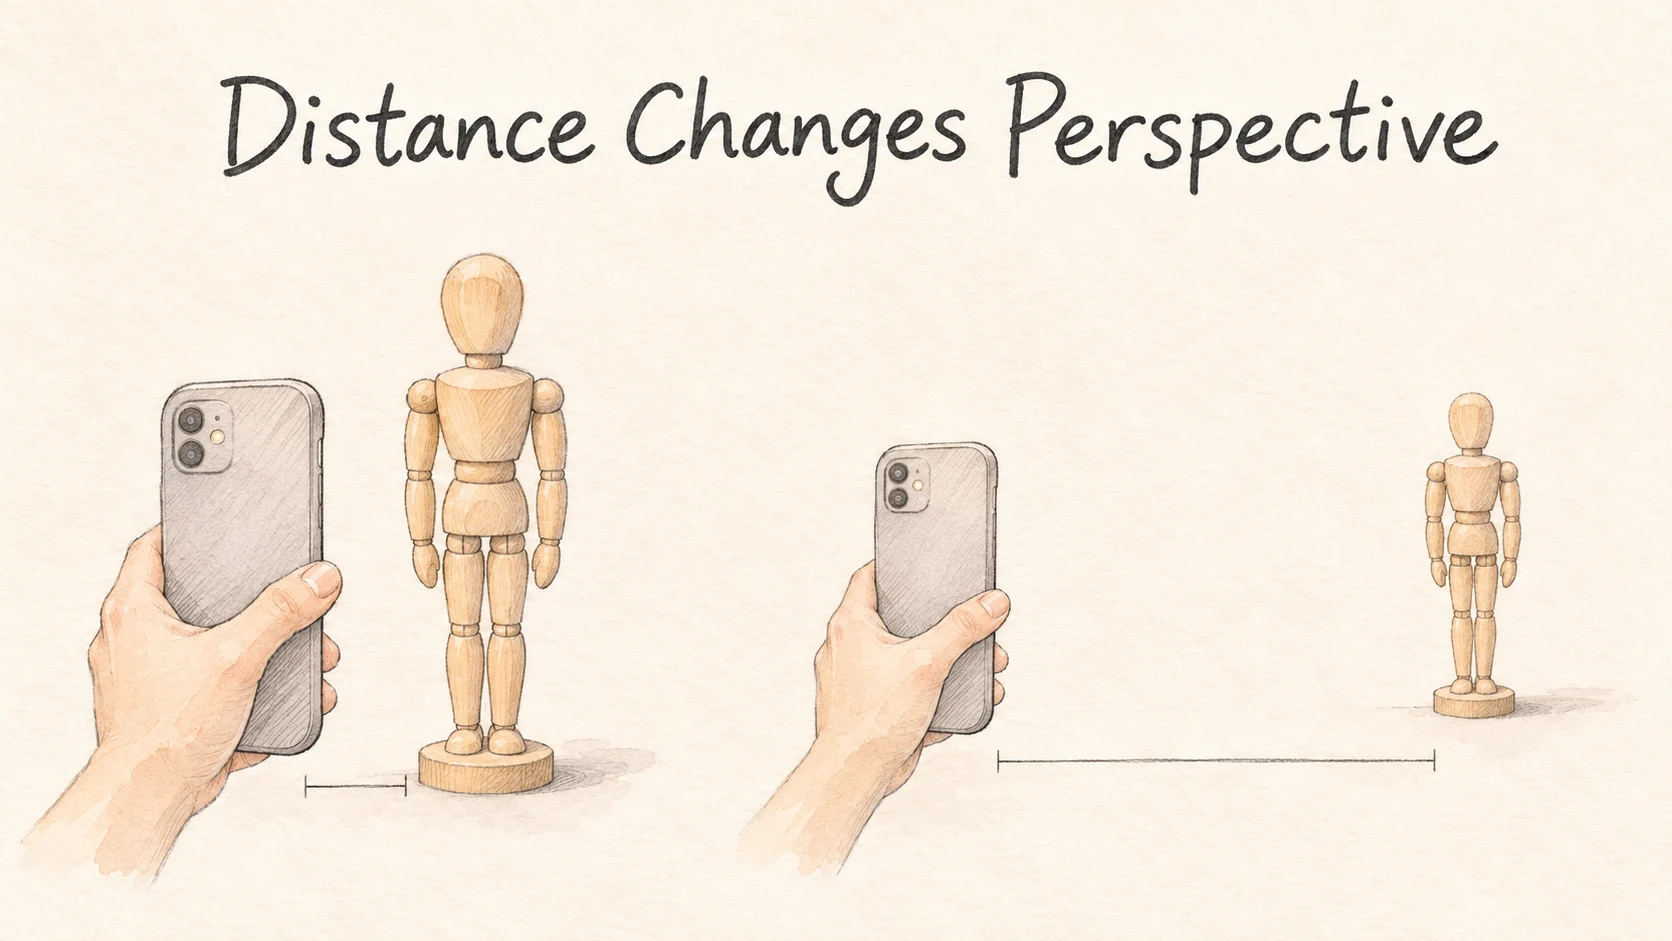
In a facial photography study, researchers used body measurements to model how a nose's apparent width changes relative to the width of the face. At a selfie distance of about 30 centimeters, apparent nose width relative to face width was about 29% to 30% larger in the two models. From about 1.5 meters away, it was close to the model's reference for parallel projection. Those percentages are about the ratio of nose width to face width. The transferable principle is that distance changes perspective. [1]
The Ward and colleagues model starts with the same face measurements while the camera distance changes. It models an optical effect. An abdomen or a shoulder viewed from another height would need its own model.
The same principle applies when you use a wide-angle mode and walk closer to make your body fill the frame. The closer parts can look larger. Cropping a photo you took without moving the camera changes what's around the frame and keeps the perspective of the original shot. To repeat a photograph, return the phone and your feet to the same places, use the same lens mode, then decide whether to crop.
Try that with an object on your desk. Photograph an upright mug from a position where its handle is closer to the camera. Move the phone back in the same direction, take another photo, and crop the second one to match the framing. The handle can still look different relative to the mug. A position you can repeat does more for the comparison than a matching outline around the edges of the image.
Look at where the light comes from and how you're standing
The same piece of clothing can cast different shadows in two spots. Face a window in the morning and the light may spread evenly. Move beside it when the sun is lower and a crease in the same shirt can cast a deeper shadow. A published protocol for photographing the torso holds the positions of the light, camera, and person steady so the lighting is easier to compare from image to image. [2]
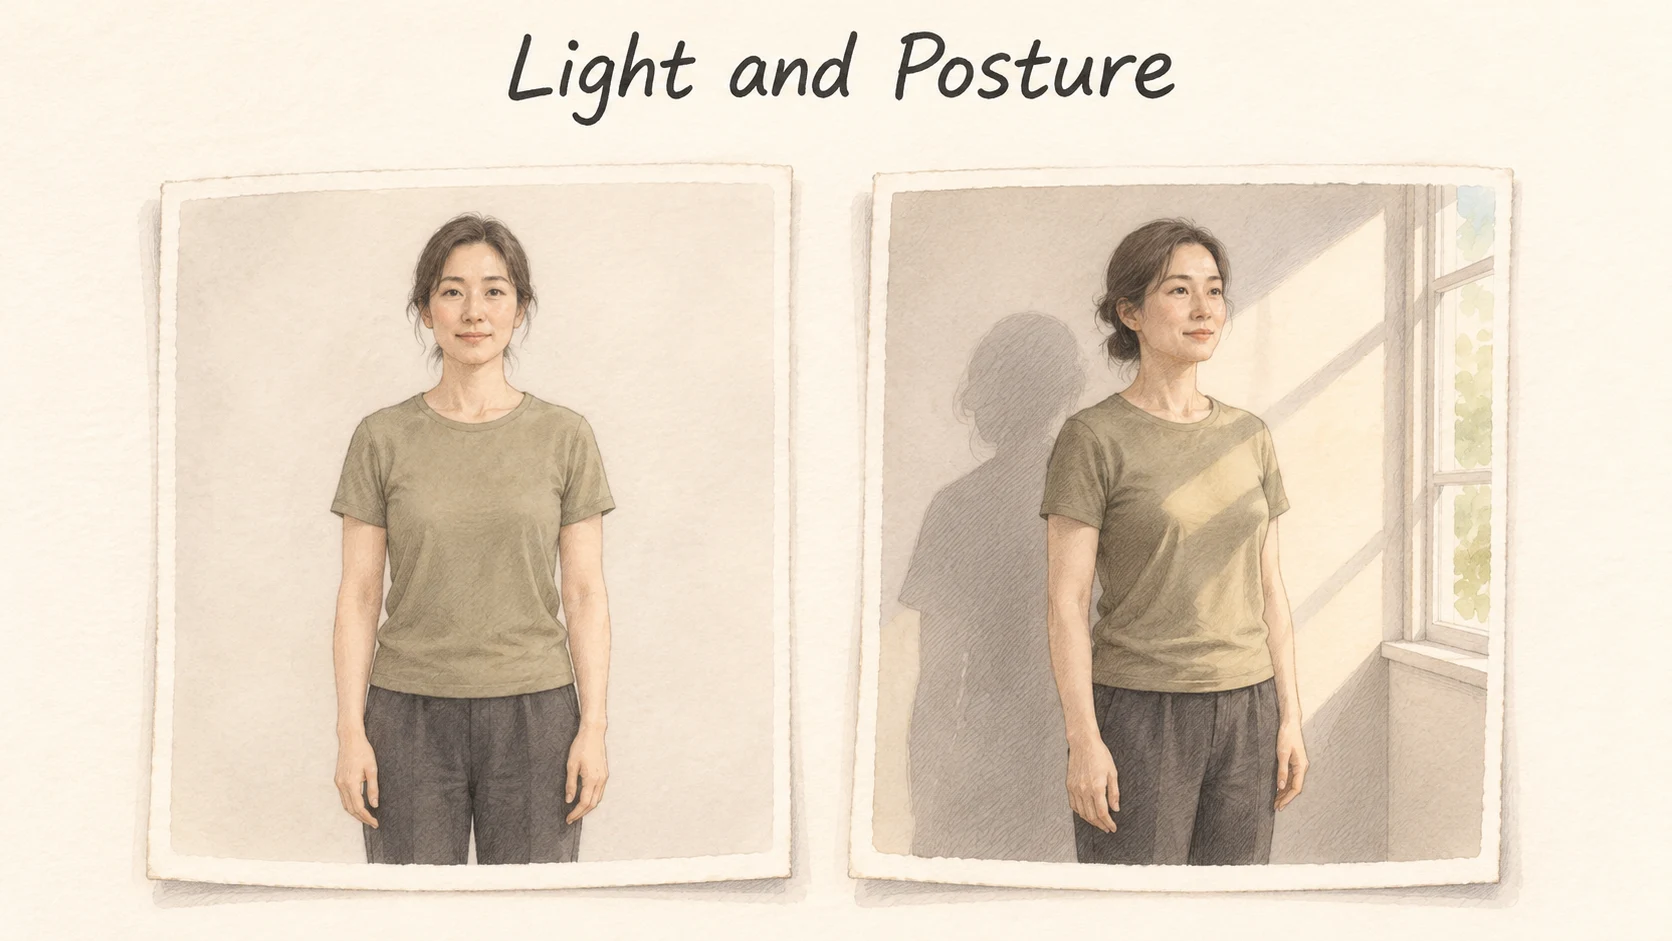
Posture changes what the camera sees too. Shifting onto one foot or turning your hips a little brings a different outline into view. Two pictures can both be taken from the front, but hands in pockets may pull fabric one way while relaxed arms let it hang differently. Pick a comfortable standing posture you can repeat. Place your feet on the same marks, let your arms fall similarly, and breathe normally.
The same room can look different at the same hour on a sunny and a cloudy day. A sheer curtain can soften direct sun. If you use a lamp, note which one and where it was. Write a short note when you couldn't match the light, so you can see the changed conditions along with the changed shadow.
There is room for both kinds of photograph. For an ordinary photo you can stand and light it however you like. For a reference you plan to use later, keep front views together and side views together. If the only question is how one side view changes, a single repeatable angle gives you a clear comparison without taking a set of pictures each time.
Set up a spot you can come back to
Find a simple wall with enough room to step back from the camera. Put the phone on a stand and use its timer. Two strips of masking tape can mark where the stand and your feet go. Point the lens straight toward the area you want to see, keeping the height and tilt similar. The next time you take a photo, use those marks as the starting point. [2]
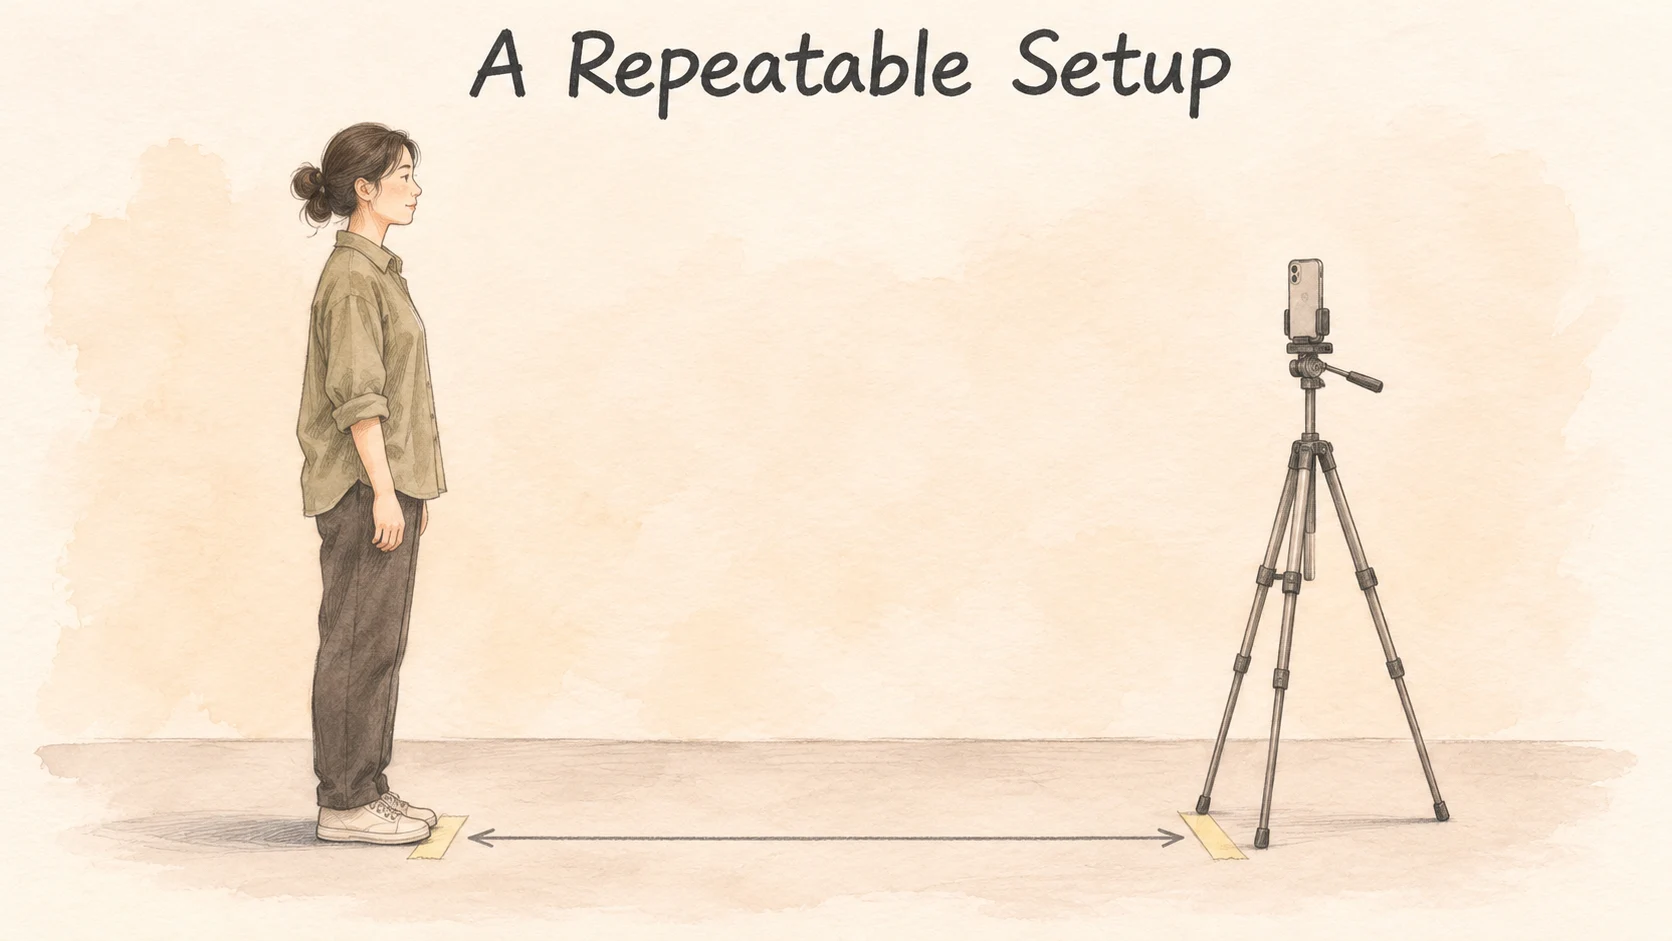
Take one test picture after you put the phone on the stand. Check that a wall edge looks vertical and that the lens is pointing where you intended, then note the stand height. If someone else takes the next picture, you can show them where the phone goes. They can place the stand on the same mark before asking you to step into the frame.
Give yourself a little room at the top and bottom of the first frame. A seam in the wall or a mark near the floor can help you recreate the framing. Stick with clothing and a time of day you can easily repeat. Keep the original if you'd like to see later what the framing or light looked like. When you move to a different room or use a different camera, note that next to the date.
A simple record can say “front view, same wall, window light,” with a date. If keeping the photos is useful, choose where you want them to live and who can see them. If you just want to compare how a familiar shirt fits, you can write down that observation and leave the camera where it is. The measurement you choose should answer the question you want to revisit.
When you look back after a few weeks, start with the setup. Keep the comparison small enough to answer a concrete question, such as how the shoulder of the same shirt hangs in the front view. Was the light close to the same? Are you standing on the same marks? Keep the hallway photo and the mirror selfie as snapshots if you want. Then step back to the marked position and take the next reference photo in conditions you can recognize.
References
[1] Ward B, et al. Nasal distortion in short-distance photographs: The selfie effect. JAMA Facial Plast Surg. 2018;20:333–335.
[2] Teplica D, Schuleman D, Masri V. Highly standardized rotational photography of the torso. J Biocommun. 2020;44(2):E12.