
What are the two numbers on a blood pressure monitor?
Systolic and diastolic pressure describe the high and low points of a heartbeat. Two crossover trials show why cuff size and arm position matter to a reading.
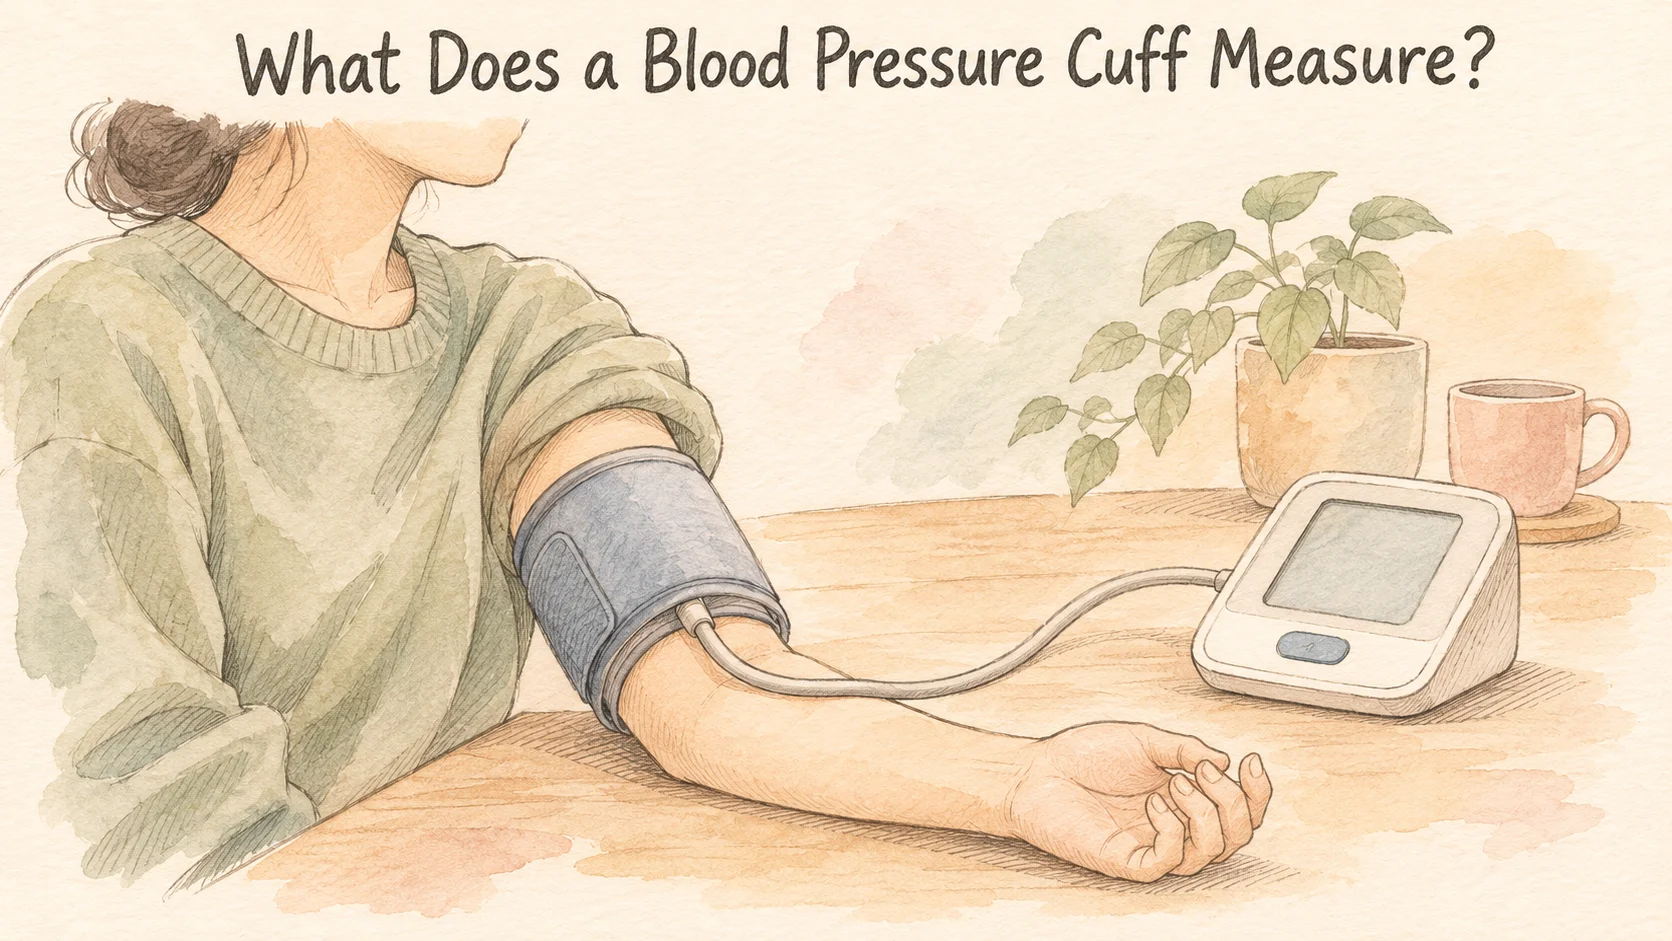
The cuff tightens around your upper arm, slowly eases, and the screen shows 118 and 76. What do those two numbers mean? Systolic pressure is the high point of arterial pressure during a heartbeat. Diastolic pressure is the low point between beats. An automatic blood pressure monitor estimates both from tiny pressure changes it detects through the cuff. It displays them in millimeters of mercury, abbreviated mmHg [1].
In two experiments, researchers measured the same person with a different cuff or with the arm in a different position. Switching from a desk to the lap as support added almost 4 mmHg to the top number on average. To see why the measurement changes, start with what happens under the cuff [2, 3].
Pressure rises and falls with each beat
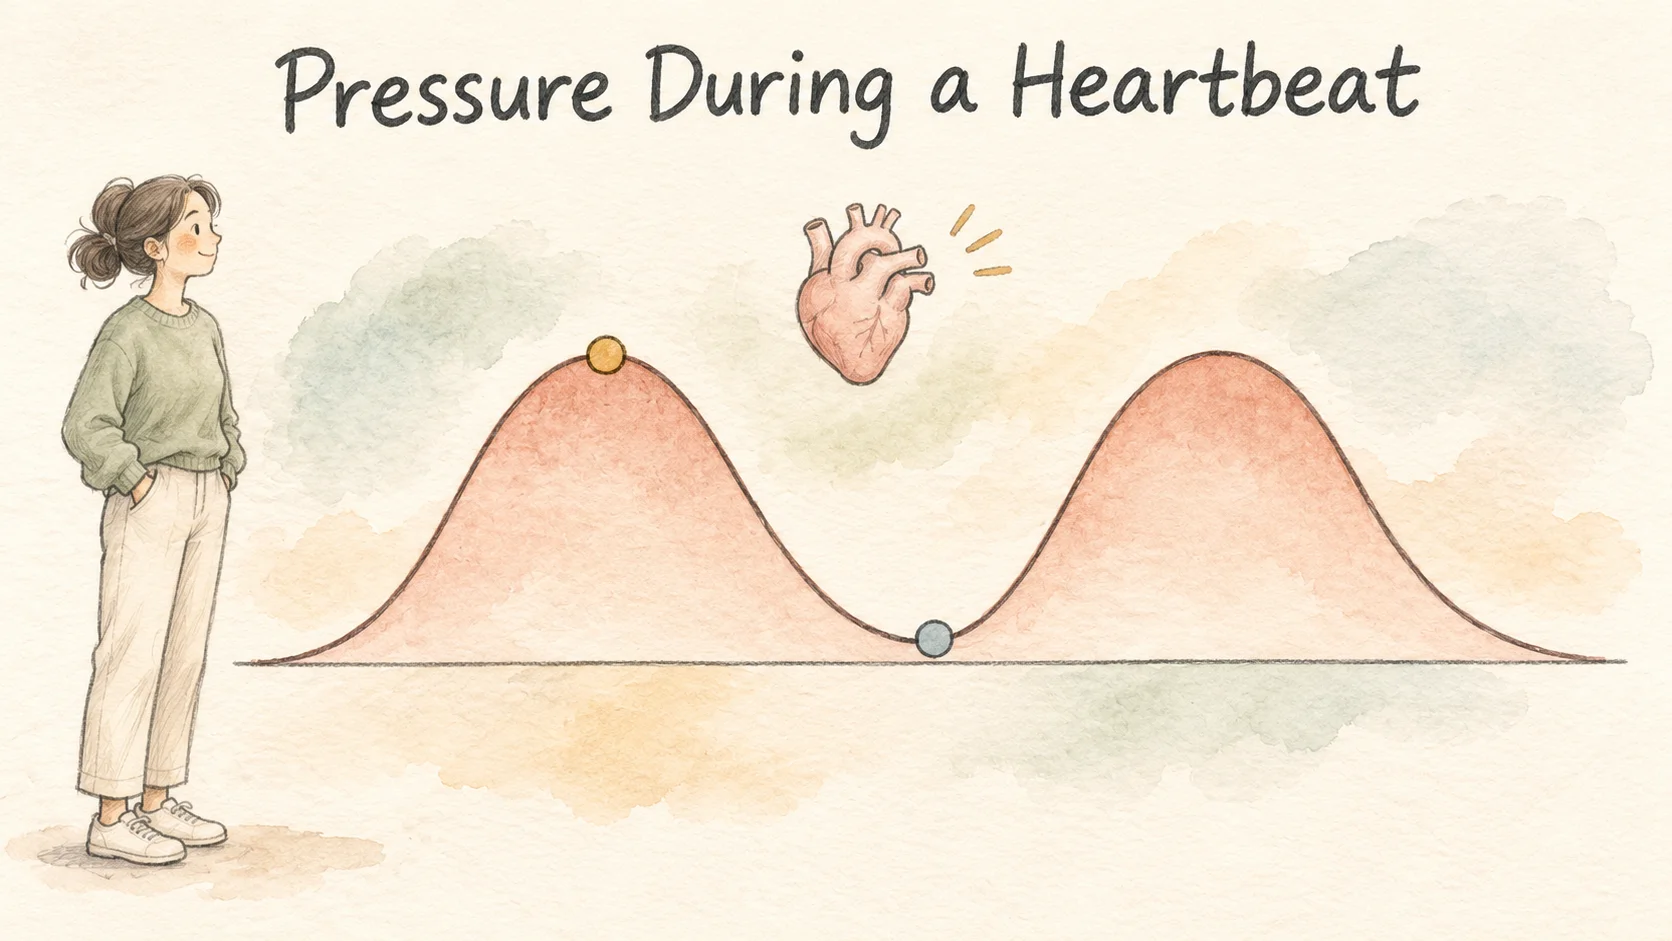
When the heart pushes blood into the arteries, incoming blood raises the pressure. Between beats, blood continues to move along the vessels and arterial pressure falls. The terms systolic and diastolic refer to the high and low parts of that wave. The artery is still under pressure at its low point. When you see 76 at the bottom of a reading, the monitor is still describing pressure [1].
With a manual instrument, an observer listens for the sounds that appear and disappear while the cuff deflates. Many automatic upper-arm monitors use a method called oscillometry. A cuff first inflates and compresses the artery. As the cuff lets air out, pressure pulses from the artery create small oscillations that travel to a sensor in the cuff system. The device uses their changing strength to estimate systolic and diastolic pressure. Some devices take their measurements while the cuff inflates, and devices can use different formulas to arrive at the displayed values [1].
A third number may appear beside a little heart icon. Check the unit next to it: beats per minute describes pulse rate. A monitor might show 118/76 mmHg and a pulse of 68 beats per minute on the same screen. The first two numbers mark the high and low pressure points. The pulse counts how often a beat occurs. The two pressures can also be subtracted to get a pulse pressure, 42 mmHg in this example, which is a difference in pressure and has its own unit.
Think about the early part of the cycle, when the cuff compresses the artery, and the later part, when blood is passing through it more freely. The monitor gets its estimate from the pattern of signals it collects as cuff pressure changes. The location and fit of the cuff belong to that measurement, even though the only part you may see afterward is a pair of large digits [1].
What changes when the cuff is a different size?
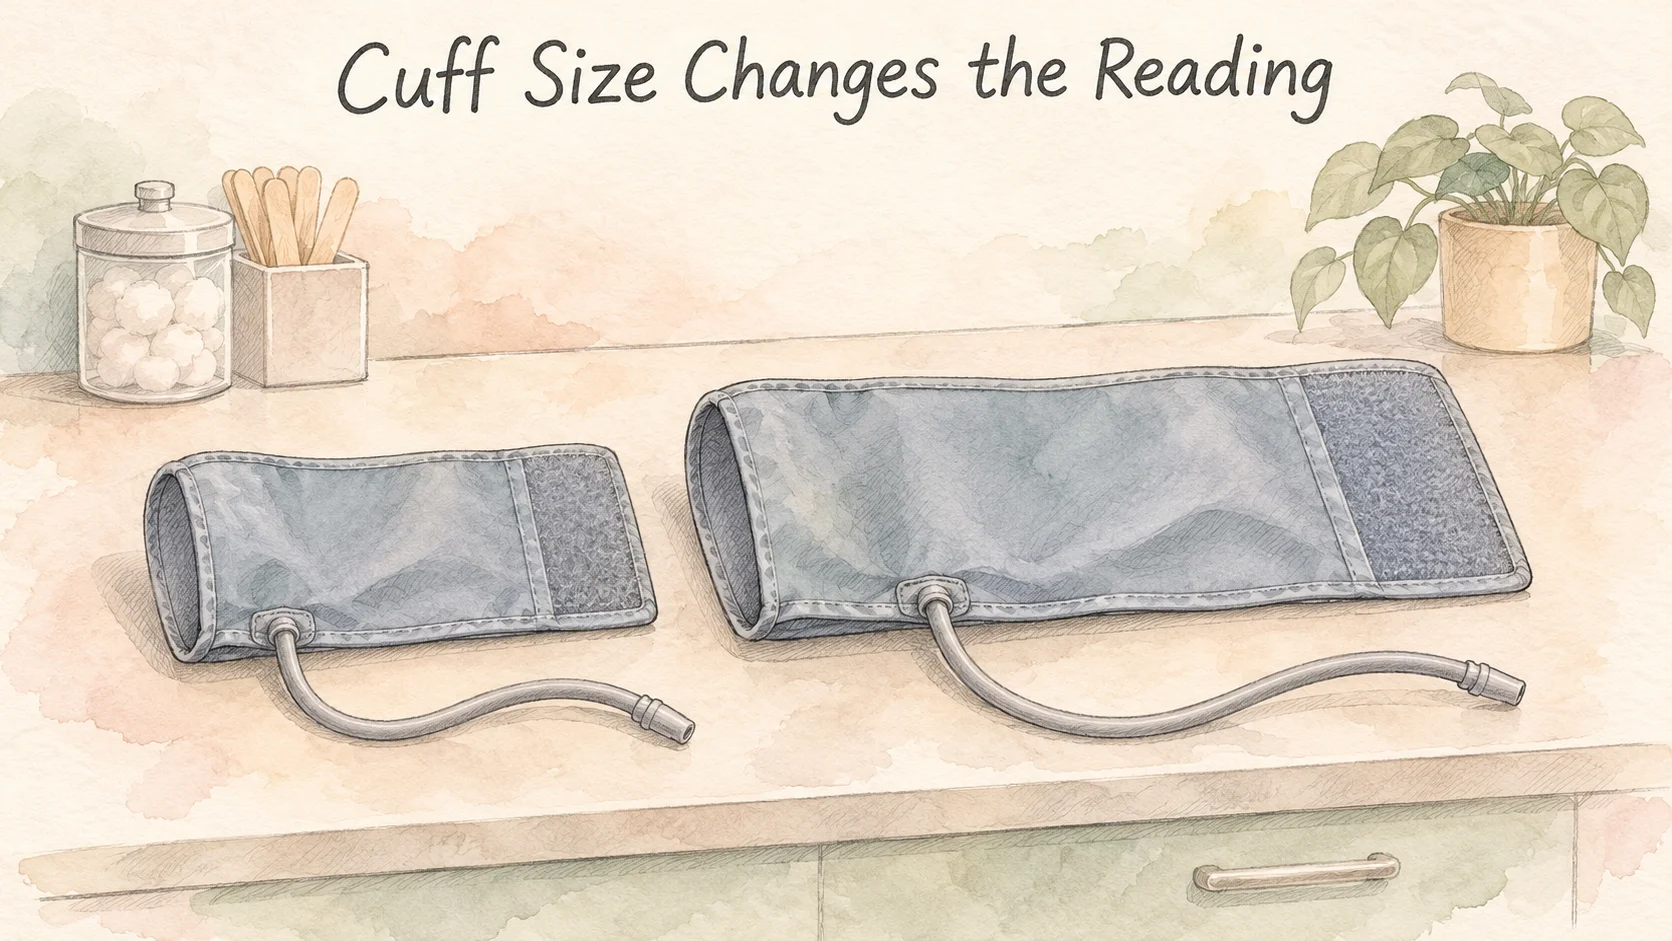
An air-filled cuff sits outside the arm. Its pressure reaches the artery through the tissue in between, and the pulses travel back the other way. Upper-arm cuffs fit a range of arm circumferences. The width and length of the part that inflates determine where and how it presses on the arm. Change the fit and you can change how a particular cuff presses and picks up that signal [1, 2].
In Baltimore, researchers recruited 195 adults for an experiment using the same automatic monitor and different cuffs. Each person had their pressure taken three times with each cuff size. The researchers varied the order of the first three sets so that one particular size did not always have the advantage or disadvantage of being used first. The paper compares the result from a regular cuff to the result from a cuff matched to the person's arm [2].
For people who needed a small cuff, the regular cuff was too large and gave a systolic value 3.6 mmHg lower on average. For people who needed a large cuff, the regular cuff was too small and gave a value 4.8 mmHg higher. When people needed an extra-large cuff, the regular cuff was two sizes too small and the difference averaged 19.5 mmHg. Those are comparisons for the equipment and groups in the experiment. They supply no fixed adjustment for a reading where the original fit is unknown [2].
Picture two people trying the same regular cuff. It matches the first person's arm. The second person's arm would take a cuff two sizes larger. Someone writing up the measurement might describe both people as wearing an ordinary adult cuff. For this experiment, those are two different conditions. The actual fit tells you more than the word “regular” by itself.
The cuff study also ended with another set using a cuff suited to the person. Even with the same reference cuff at both ends of a session, values can shift. The 19.5 mmHg result has a specific comparison: regular and suitable cuffs in the group whose arms took an extra-large cuff. It does not compare the starting readings of adults with different arm circumferences [2].
What happens when you move your arm?
Another crossover trial had 133 adults take turns in three positions in randomly assigned order. In the reference position, the arm rested on a desk, with the cuff around heart height. In the other two, the hand rested in the lap or the arm hung unsupported at the side. Researchers took three readings in each position and then repeated the desk position. That gave them a comparison for how much readings could shift over the session with the same position [3].
Compared with the desk position, supporting the hand in the lap added an estimated 3.9 mmHg to systolic pressure and 4.0 mmHg to diastolic pressure. Letting the arm hang at the side added an estimated 6.5 and 4.4 mmHg, respectively. With a change of position, the cuff can move in relation to the heart. Supporting the arm can also change how much the muscles have to work. The experiment compares the positions as a whole. It does not give a separate number for the contribution of each of those factors [1, 3].
The same person was in all three positions. That is what lets the study compare the measuring conditions without asking whether one group of people began with higher pressures than another. Had the researchers kept only the final numbers, they would have lost the information needed to explain which trial condition each set represented.
Keep the circumstances with the reading
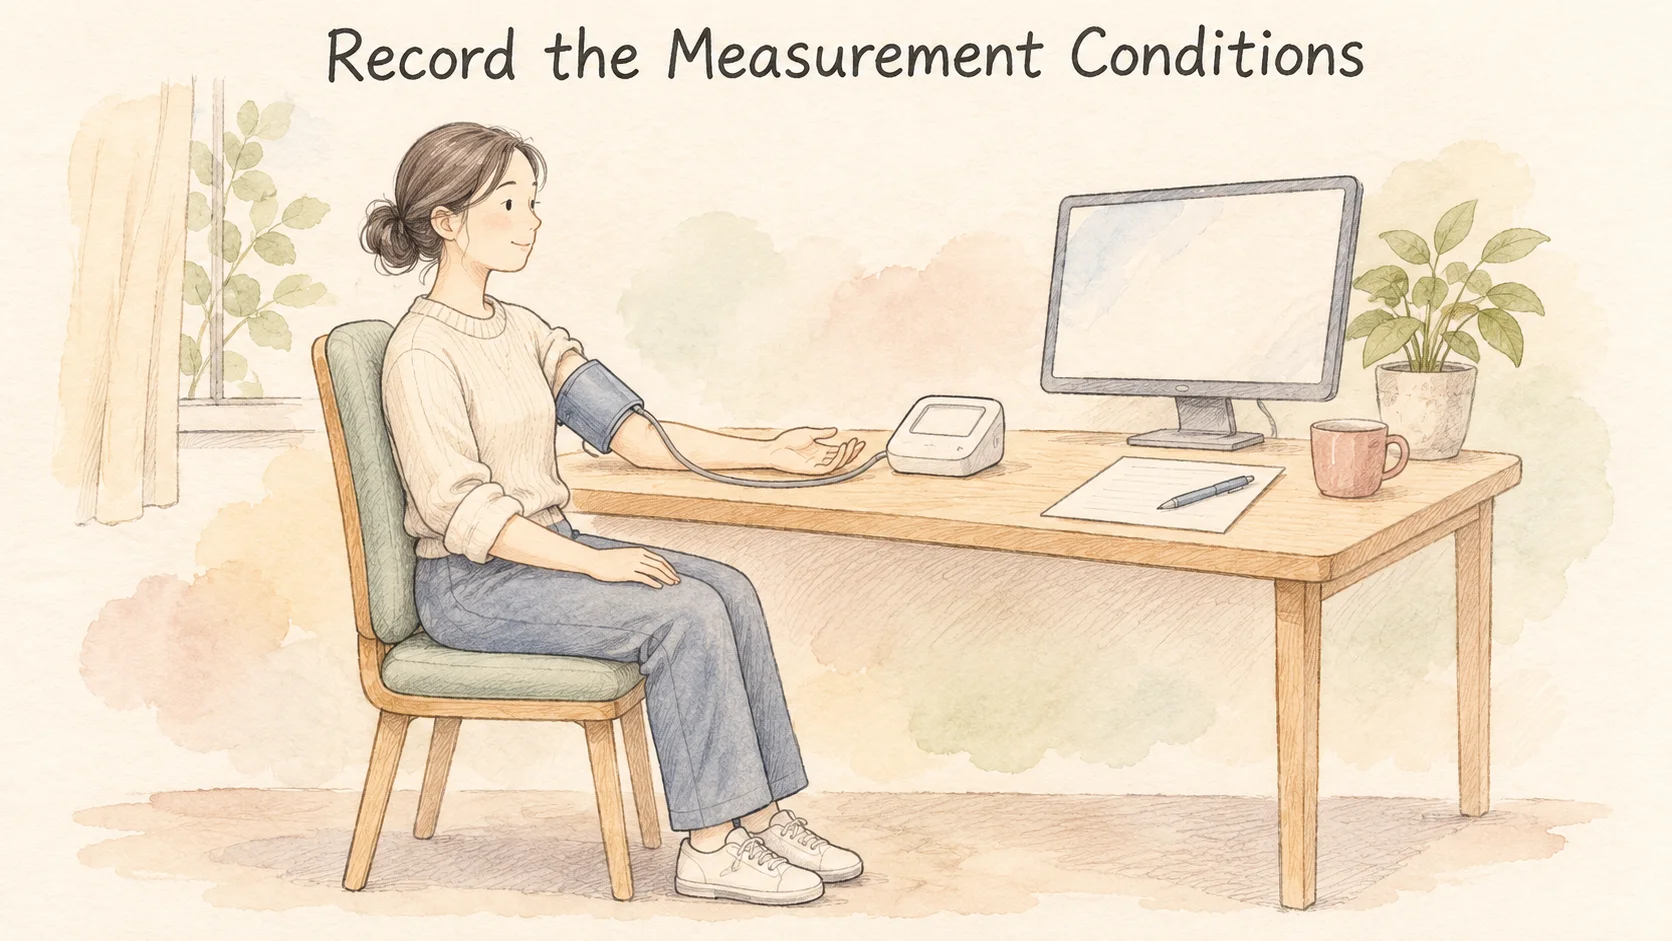
If you are comparing readings, write the time, arm, cuff size, and arm support next to the pair of numbers. Note whether a value came from a single measurement or an average. A line such as “morning, left upper arm, large cuff, forearm on desk, average of three” retains details that can be hard to remember a few weeks later [1].
The opening reading of 118/76 mmHg captures two parts of a pressure wave. When you put it beside a second reading, look at when each was taken, how the arm was supported, and whether the cuff changed. Those details help you see which conditions the two readings actually share.
References
[1] Muntner P, et al. Measurement of blood pressure in humans: A scientific statement from the American Heart Association. Hypertension. 2019;73(5):e35–e66.
[2] Ishigami J, et al. Effects of cuff size on the accuracy of blood pressure readings: The Cuff(SZ) randomized crossover trial. JAMA Intern Med. 2023;183(10):1061–1068.
[3] Liu H, et al. Arm position and blood pressure readings: The ARMS crossover randomized clinical trial. JAMA Intern Med. 2024;184(12):1436–1442.